How to Enable Hyper-V Features in Windows 10: Hyper-V is a software that lets you run multiple operating systems on one computer. It’s great for testing software, deploying apps, and making your work faster and easier.
Enabling Hyper-V on Windows 10 allows you to create virtual machines without separate hardware. It’s useful for developers, IT professionals, and power users.
Hyper-V provides the advantage of isolating virtual machines, ensuring their independence from the host system and other virtual machines. This promotes stability and security, as any issues or infections are contained within individual virtual machines.
Hyper-V is a powerful tool that helps optimize resource usage and allows virtual machines to communicate effectively.
Read Also: How to Create Windows XP USB Installer
Enabling Hyper-V on your Windows 10 system is easy. Follow the step-by-step instructions from Microsoft’s official documentation on how to enable Hyper-V features in Windows 10. Once enabled, you’ll have a powerful virtualization platform for increased productivity, software testing, and simplified IT operations.
Sure! Hyper-V on Windows 10 allows you to test applications, manage virtual infrastructure, and explore new technologies easily.
How to Enable Hyper-V Features in Windows 10
Please follow the steps below:
- Check System Requirements:
Before enabling Hyper-V, ensure that your system meets the following requirements:- A 64-bit version of Windows 10 Pro, Enterprise, or Education edition.
- A processor with Second Level Address Translation (SLAT) support.
- A minimum of 4 GB of RAM.
- Access Windows Features:
- Press the Windows key + S on your keyboard to open the search bar. Type “Turn Windows features on or off” and select the matching result.
- Alternatively, you can access the same window by navigating through the Control Panel: Control Panel > Programs > Turn Windows features on or off.
- Enable Hyper-V Features:
- In the “Windows Features” window, scroll down and locate “Hyper-V” from the list. Expand the category and select both “Hyper-V Management Tools” and “Hyper-V Platform” checkboxes.
- If you plan to use the virtualization feature on your Wireless network, also select the “Hyper-V Extensible Virtual Switch” checkbox.
- Click OK to save the changes.
- Restart Your Computer:
- Once the enabling process is complete, Windows will prompt you to restart your computer. Save and close any open files and click on Restart now to proceed.
- Verify Installation:
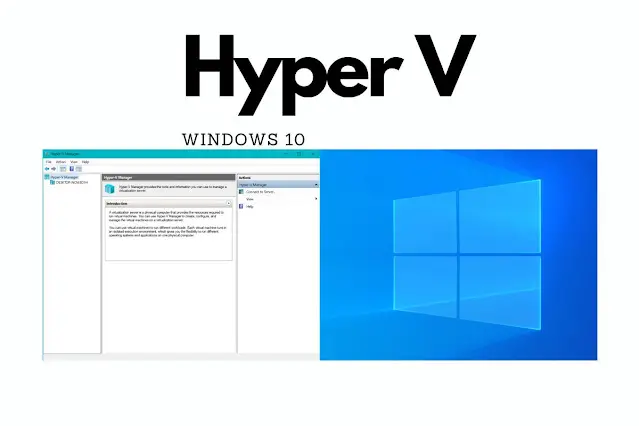
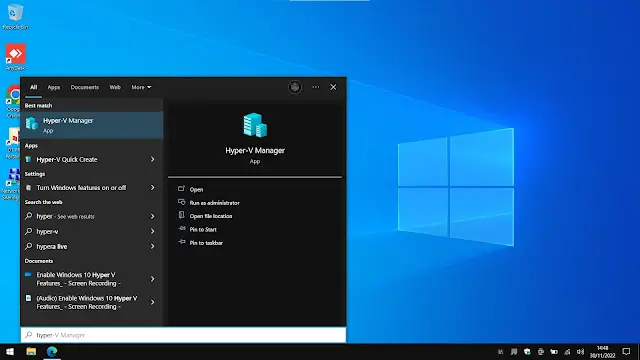
- After your computer restarts, the Hyper-V features will be installed and enabled. You can verify this by searching for “Hyper-V Manager” in the Windows search bar or Start menu.
- Open the Hyper-V Manager and you should see the management console from where you can create virtual machines and manage your virtual environment.
That’s it! You have successfully enabled Hyper-V features on your Windows 10 system. You are now ready to create and run virtual machines with ease.
If you have any problems with Hyper-V, check the Microsoft documentation or ask for help in the Windows support community.
Remember, enabling Hyper-V features may require administrative rights and can affect system performance. Ensure that your hardware meets the requirements before proceeding with the installation.
Happy virtualization!

You must be logged in to post a comment.